
Introduction
You are trying to build a beautiful, modern scrolling header—a flutter collapsible appbar—but instead of a buttery-smooth animation, you are staring at a massive red screen of death. Or worse, the app compiles, but your SliverAppBar just sits there, completely frozen, while the list beneath it scrolls awkwardly independently.
If you are actively stuck on this right now, take a deep breath. You are not alone, and your code isn’t fundamentally broken. You’ve just run headfirst into one of Flutter’s most notorious learning curves: the boundary between the Box Protocol and the Sliver Protocol.
In my years of building production Flutter apps, I’ve seen junior and senior developers alike trip over this exact issue. Slivers are powerful, but they are completely unforgiving if you don’t play by their specific layout rules. This article is written for developers who need to fix their broken flutter sliverappbar implementation right now. We are going to bypass the theoretical documentation, look at why your UI is breaking, and implement the exact code structure needed to get that smooth, collapsible header working flawlessly in your 2026 production app.
What the Problem Is
When developers first try to implement a collapsible header, they typically drop a SliverAppBar directly into a standard Scaffold body, a Column, or try to pair it with a standard ListView.
The immediate result is usually one of two things:
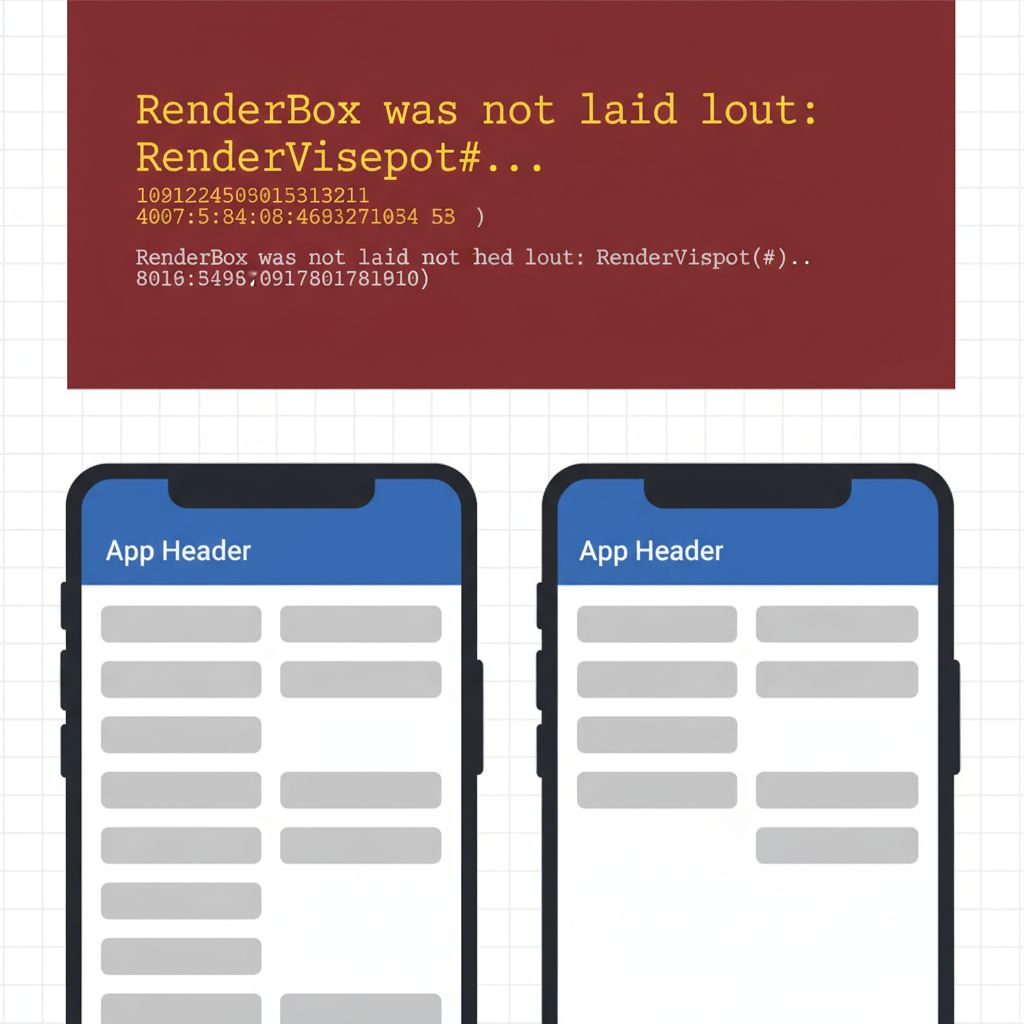
- The “Vertical viewport was given unbounded height” error: A terrifying red screen that crashes your UI completely.
- The Static Header Bug: The app bar renders, but it refuses to collapse or expand when you scroll the content below it. The scroll events simply aren’t communicating with the header.
Why This Happens (Real Explanation)
To fix this permanently, you need to understand a core architectural concept in Flutter. Flutter uses two completely different layout languages (protocols) to draw widgets on the screen.
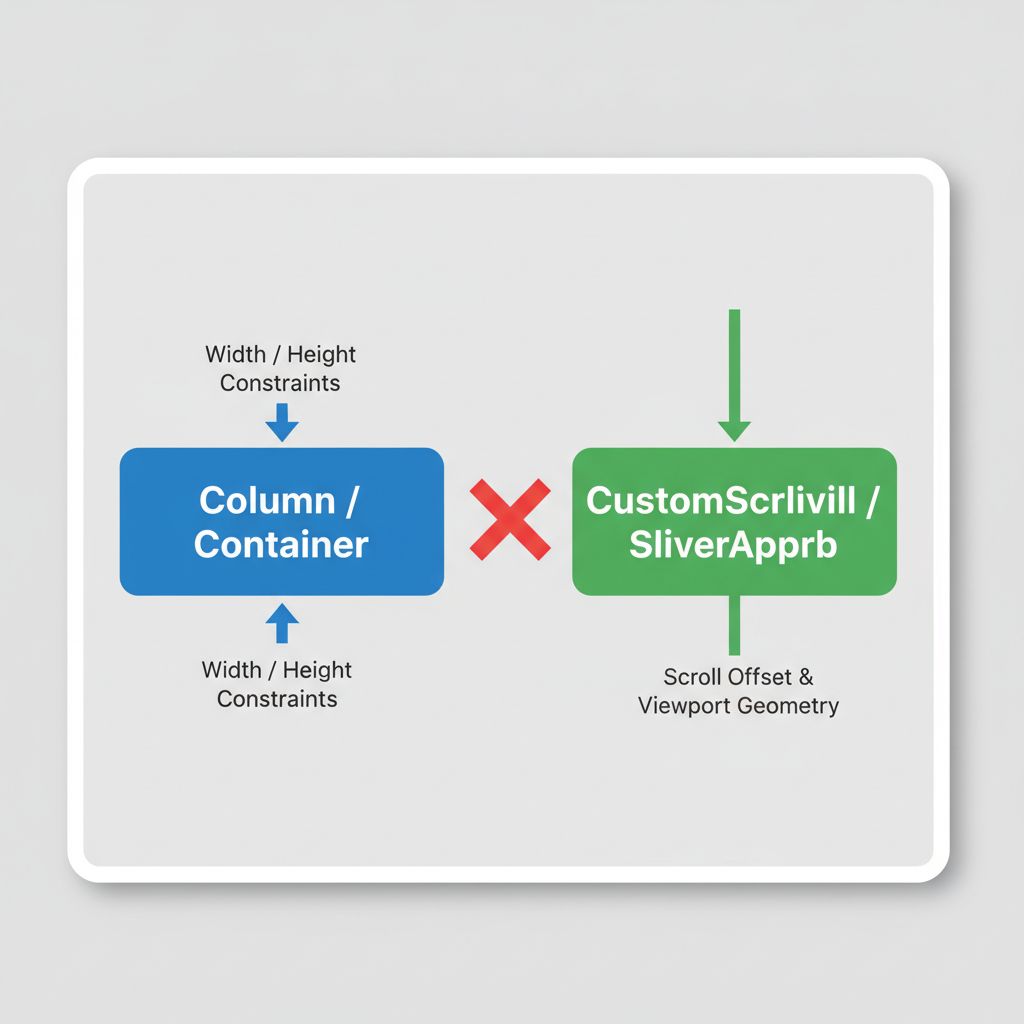
Standard widgets like Container, Column, and SizedBox use the Box Protocol. They negotiate size using width and height constraints.
Scrollable areas, however, use the Sliver Protocol. Slivers don’t care about fixed heights; they care about scroll offset, viewport geometry, and paint extent.
Your SliverAppBar speaks exclusively in Sliver Protocol. If you place it inside a Column (which speaks Box Protocol), they cannot communicate. The Column asks, “How tall are you?” and the SliverAppBar replies, “I am as tall as the user’s scroll offset dictates.” The framework panics and throws a layout error.
Similarly, if you put a standard ListView inside a CustomScrollView next to your SliverAppBar, the scroll view doesn’t know how to pass scroll events to the list, breaking the collapsing effect.
When You Usually See This Issue
This layout mismatch almost always rears its head when you are trying to upgrade a basic UI to something more premium. You’ll typically encounter this when building:
- User Profile Pages: Where the user’s avatar and cover photo need to collapse into a standard app bar as you scroll down their feed.
- E-commerce Product Details: Where a large product image shrinks down into the navigation bar to save screen real estate.
- Article Reading Screens: Where a large hero image and headline fold away to let the user focus on the text.
Quick Fix Summary (Decision Shortcut)
If you are on a tight deadline and just need the UI to work, here is the exact checklist to fix your layout:
- Rule 1: Your
SliverAppBarMUST be placed inside theslivers:[]property of aCustomScrollView. - Rule 2: You CANNOT use a standard
ListView,Column, orContainerdirectly inside thatsliversarray. - Rule 3: Convert your scrollable body content to a
SliverListorSliverGrid. - Rule 4: If you absolutely must use a standard widget (like a
PaddingorText), wrap it in aSliverToBoxAdapter.
Step-by-Step Solution (Core Section)
Let’s look at how to structure a proper sliverappbar example flutter implementation that won’t break your app.
The Wrong Way (What is likely breaking your app)
// ❌ THIS WILL THROW AN ERROR OR FAIL TO SCROLL
Scaffold(
  body: Column(
    children:[
      SliverAppBar( // ERROR: Sliver inside a Box (Column)
        title: Text('My Profile'),
      ),
      ListView.builder( // ERROR: Box inside a Box, disconnected from Sliver
        itemCount: 50,
        itemBuilder: (context, index) => ListTile(title: Text('Item $index')),
      ),
    ],
  ),
)
The Right Way (The Production Fix)
To fix this, we replace the Column with a CustomScrollView, and we replace the ListView with a SliverList. This ensures everything in the tree speaks the same layout language.
// ✅ THE CORRECT IMPLEMENTATION
Scaffold(
  body: CustomScrollView(
    slivers:[
      SliverAppBar(
        expandedHeight: 250.0,
        floating: false,
        pinned: true,
        flexibleSpace: FlexibleSpaceBar(
          title: Text('Collapsible Header'),
          background: Image.network(
            'https://example.com/header-image.jpg',
            fit: BoxFit.cover,
          ),
        ),
      ),
      // We must use a SliverList, NOT a standard ListView
      SliverList(
        delegate: SliverChildBuilderDelegate(
          (BuildContext context, int index) {
            return ListTile(
              title: Text('Scrollable Item $index'),
            );
          },
          childCount: 50, // Number of items
        ),
      ),
    ],
  ),
)
Understanding the Magic Properties
The behavior of your collapsible header is controlled by three crucial boolean properties. Getting these wrong is the second most common reason developers get frustrated:
- pinned: If
true, the app bar collapses but never fully disappears. It shrinks to the size of a standard toolbar and stays stuck to the top of the screen. Great for keeping a back button visible. - floating: If
true, as soon as the user scrolls up (even if they are deep at the bottom of the list), the app bar immediately slides back down into view. - snap: If
true, the app bar will fully snap into view or fully hide itself based on a partial scroll. Note: This only works if floating is also set to true.

Common Mistakes Developers Make
Even after setting up the CustomScrollView, I frequently see these mistakes in code reviews:
- Forgetting SliverToBoxAdapter: If you want to add a simple loading spinner or a static text warning above your list, you cannot just drop a
PaddingorCircularProgressIndicatorinto thesliversarray. You MUST wrap it like this:SliverToBoxAdapter(child: CircularProgressIndicator()). - Using SliverChildListDelegate for massive lists: If you have 1000 items and use
SliverChildListDelegate, Flutter will render all 1000 items at once, destroying your memory. Always useSliverChildBuilderDelegatefor dynamic or large lists, as it builds items lazily on demand. - Misunderstanding FlexibleSpaceBar: The
SliverAppBaritself just handles the scrolling math. The actual visual collapsing effect (the text shrinking, the image fading) is handled entirely by theFlexibleSpaceBarwidget assigned to theflexibleSpaceproperty.
Warnings and Practical Tips
⚠️ Nested Scroll Views: Be incredibly careful if you are trying to put a TabBarView inside your scrollable area. Using a NestedScrollView to achieve this is notoriously buggy regarding scroll physics. If you need tabs below a SliverAppBar, use a SliverPersistentHeader with a TabBar inside your CustomScrollView instead.
💡 The iOS Bounce Effect: If you are targeting iOS users, add stretch: true to your SliverAppBar and wrap your CustomScrollView in a BouncingScrollPhysics. When the user pulls down at the top of the list, the header image will beautifully stretch and zoom, adding a highly premium feel to your app.
💡 Status Bar Contrast: When using images in your FlexibleSpaceBar, the device status bar icons (battery, time) might become unreadable if the image is too light. Always wrap your background image in a subtle dark gradient or use the systemOverlayStyle property to enforce dark icons.
Edge Cases and Limitations
While the CustomScrollView approach fixes 99% of issues, there is an edge case with horizontal scrolling. If you place a horizontal ListView inside a SliverToBoxAdapter, the vertical scrolls will pass through perfectly to the SliverAppBar. However, diagonal scrolling (swiping at an angle) can sometimes cause the gesture recognizer to get confused, resulting in a “stuck” header. In production apps (especially on Flutter 3.24+), you can mitigate this by explicitly defining the dragStartBehavior on your horizontal lists.
What Happens If You Ignore This Problem
Trying to hack around the Sliver/Box protocol mismatch by using fixed-height containers or manual ScrollController listeners is a recipe for technical debt. If you ignore the proper sliver implementation:
- Performance will tank: Manual scroll listeners trigger a rebuild on every single frame of a scroll event, causing massive UI jank.
- Layouts will break on different devices: A hacked header might look fine on an iPhone 15 Pro, but will completely block the screen on a smaller Android device.
- Accessibility fails: Screen readers rely on proper semantic scroll boundaries. Mixing scroll views improperly breaks accessibility navigation.
FAQ Section
Why am I getting the error “snap can only be used with floating”?
Flutter enforces a logical rule here. A snapping app bar needs to know when to snap down. If it isn’t floating (meaning it doesn’t appear when you scroll up), it has no trigger to snap into place. Simply set floating: true alongside snap: true.
How do I remove the drop shadow when the SliverAppBar is collapsed?
Set the elevation property to 0.0 on the SliverAppBar. If you are using Material 3 (which is default in modern Flutter), you may also need to set scrolledUnderElevation: 0.0 to prevent the automatic tinting that happens when content scrolls underneath it.
Can I put a standard Container inside a CustomScrollView?
Not directly. The CustomScrollView only accepts Slivers. You must wrap your Container inside a SliverToBoxAdapter widget first. This acts as a translation layer between the Sliver Protocol and the Box Protocol.
Final Takeaway & Conclusion
Struggling with a flutter sliverappbar is almost a rite of passage for Flutter developers. The core lesson here is simple: respect the layout protocols. Box widgets go in Box containers; Sliver widgets go in Sliver containers.
Your Actionable Checklist:
- Remove your
SliverAppBarfrom anyColumnor standardScaffoldbody. - Wrap your entire page structure in a
CustomScrollView. - Place your
SliverAppBarat the top of theslivers: