
Introduction
If you are reading this, you are likely staring at a bright red error screen on your emulator, or you are dealing with a swipe-to-delete flutter feature that is behaving unpredictably. You wanted to implement a simple flutter dismissible widget to let users swipe away emails, notifications, or to-do items. Instead, the app crashes the moment the swipe animation finishes, or worse, the wrong item disappears from the screen.
As a Flutter developer who has spent the last five years building and maintaining large-scale production applications, I can tell you right now: you are not alone, and your frustration is completely valid. Almost every Flutter developer hits this exact wall when they first move beyond static UI layouts and start building dynamic, mutable lists.
This article is specifically written for beginner to intermediate Flutter developers who are stuck trying to make the Dismissible widget work reliably in a real-world app. We are going to bypass the theoretical fluff and focus directly on why your list is crashing, why Flutter is yelling at you about widgets “still being part of the tree,” and exactly how to fix it so it never happens again.
What the Problem Is
When developers try to implement a flutter listview swipe feature, they usually wrap their list items in a Dismissible widget, provide a background color, and test it out. You swipe the item left or right, the item slides off the screen, and then—bam.
The app throws a massive exception that looks exactly like this:
“FlutterError: A dismissed Dismissible widget is still part of the tree. Make sure to implement the onDismissed handler and to immediately remove the Dismissible widget from the application’s state.”
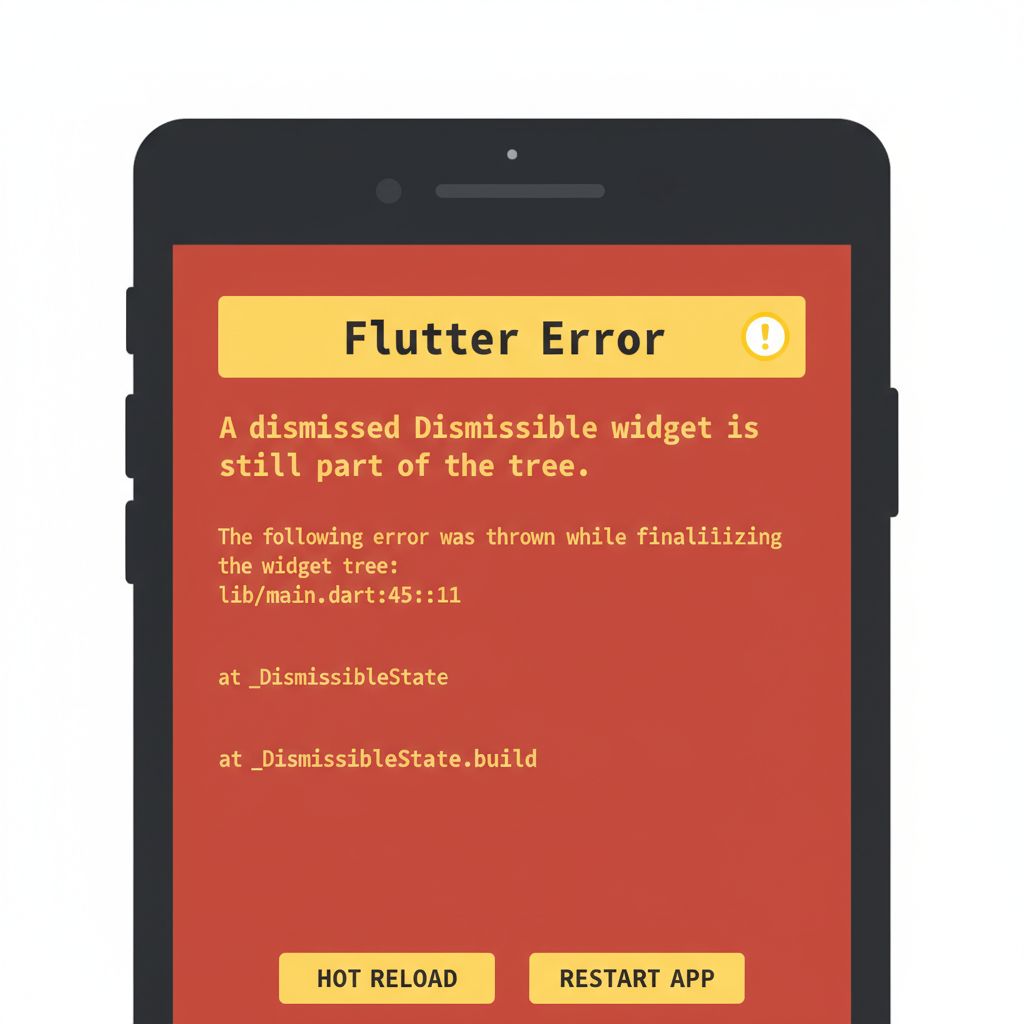
Alternatively, you might experience a silent failure. You swipe an item away, no error is thrown, but as soon as you scroll down and back up, the deleted item magically reappears. Or, even more dangerously, you swipe away the item at the top of the list, but the item at the bottom of the list disappears instead. These are all symptoms of the exact same underlying problem: a disconnect between Flutter’s widget tree and your application’s data state.
Why This Happens (Real Explanation)
To fix this permanently, we need to look under the hood of Flutter’s rendering pipeline. The flutter dismissible widget does not actually delete your data. It is purely a UI component. Its only job is to animate an item off the screen and then tell you, “Hey, I finished animating. You need to handle the rest.”
Flutter uses an Element Tree to keep track of what is currently on the screen. When you use a ListView.builder, Flutter is highly optimized; it only renders the items currently visible. To keep track of which widget corresponds to which piece of data, Flutter relies heavily on Keys.
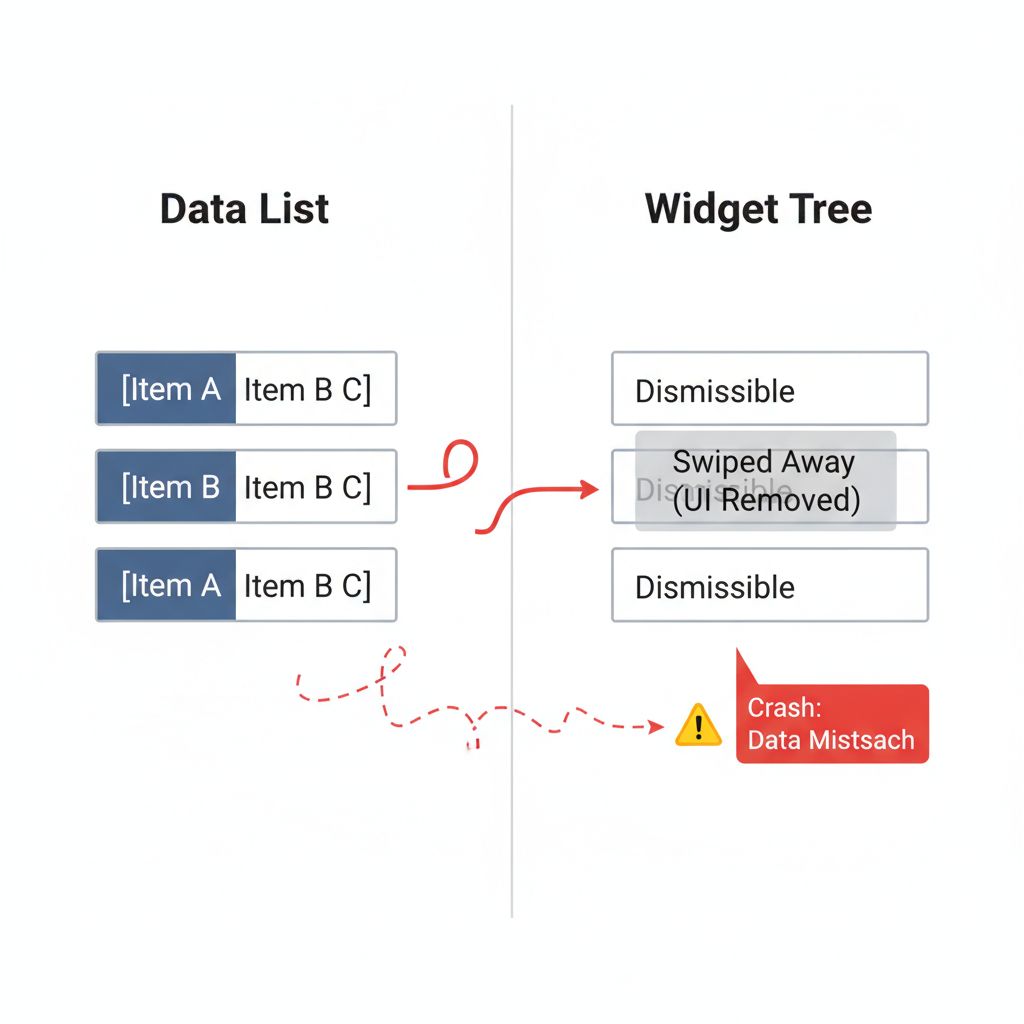
Here is the exact sequence of events that causes the crash:
- You swipe the
Dismissiblewidget. - The widget animates completely off the screen.
- Internally, the
Dismissiblemarks itself as “dismissed” and removes itself from the visual layout. - Flutter triggers a frame rebuild. It looks at your underlying data list (which you forgot to update, or updated incorrectly).
- Flutter sees that the data item is still in your list, so it tries to build a
Dismissiblewidget for it. - The framework panics: “Wait, this widget told me it was dismissed and destroyed, but the data source is telling me it should still be here!”
This is why understanding how Keys work in Flutter is not just theoretical—it is mandatory for building stable lists. If you use the list index as a key, Flutter gets completely confused when the list shifts upward after a deletion.
When You Usually See This Issue
In my experience, this issue rarely pops up during simple tutorials because those tutorials often use static, hardcoded lists. You will encounter this problem in real-world scenarios, such as:
- Production Apps: When you are fetching a list of users, messages, or cart items from a REST API or GraphQL endpoint.
- State Management Mismatches: When you are using Riverpod, BLoC, or Provider, and your swipe action fires an event, but the state doesn’t update fast enough before the next frame renders.
- Paginated Lists: When implementing infinite scrolling alongside swipe-to-delete flutter features, the index shifting causes massive layout bugs.
Quick Fix Summary (Decision Shortcut)
If you are in a rush and just need to get your app compiling and working again, check these three things immediately:
- Stop using the index as a Key: Change
key: Key(index.toString())tokey: ValueKey(myList[index].uniqueId). - Update the data source: You MUST remove the item from your actual Dart
Listinside theonDismissedcallback. - Trigger a rebuild: Ensure the removal happens inside a
setState(() { ... }), or that your state management solution emits a new state immediately.
Step-by-Step Solution (Core Section)
Let’s build a bulletproof, production-ready flutter dismissible widget. We will start with the data model, build the list, and implement a safe deletion method that handles the UI and the data perfectly.
1. Define a Proper Data Model
Never rely on primitive strings or integers if you can avoid it. Create a model with a unique identifier. This is crucial for our ValueKey.
class TodoItem {
  final String id;
  final String title;

  TodoItem({required this.id, required this.title});
}
2. Set Up the StatefulWidget
Because we are modifying a list locally, we need a StatefulWidget. If you are using BLoC or Riverpod, the logic remains the same, but the state mutation happens in your controller.
class SwipeListScreen extends StatefulWidget {
  @override
  _SwipeListScreenState createState() => _SwipeListScreenState();
}

class _SwipeListScreenState extends State<SwipeListScreen> {
  // Simulating a data source fetched from an API
  List<TodoItem> todos = List.generate(
    10,
    (index) => TodoItem(id: 'id_$index', title: 'Task Number ${index + 1}')
  );

  @override
  Widget build(BuildContext context) {
    return Scaffold(
      appBar: AppBar(title: Text('Stable Dismissible List')),
      body: ListView.builder(
        itemCount: todos.length,
        itemBuilder: (context, index) {
          final item = todos[index];

          return Dismissible(
            // CRITICAL: Use a unique ID, never the index!
            key: ValueKey(item.id),

            // The background shown when swiping right
            background: Container(
              color: Colors.green,
              alignment: Alignment.centerLeft,
              padding: EdgeInsets.symmetric(horizontal: 20),
              child: Icon(Icons.archive, color: Colors.white),
            ),

            // The background shown when swiping left
            secondaryBackground: Container(
              color: Colors.red,
              alignment: Alignment.centerRight,
              padding: EdgeInsets.symmetric(horizontal: 20),
              child: Icon(Icons.delete, color: Colors.white),
            ),

            // CRITICAL: Handle the actual data removal
            onDismissed: (direction) {
              setState(() {
                todos.removeAt(index);
              });

              // Optional: Show a snackbar
              ScaffoldMessenger.of(context).showSnackBar(
                SnackBar(content: Text('${item.title} dismissed')),
              );
            },

            child: ListTile(
              title: Text(item.title),
              subtitle: Text('ID: ${item.id}'),
            ),
          );
        },
      ),
    );
  }
}
Why This Solution Works
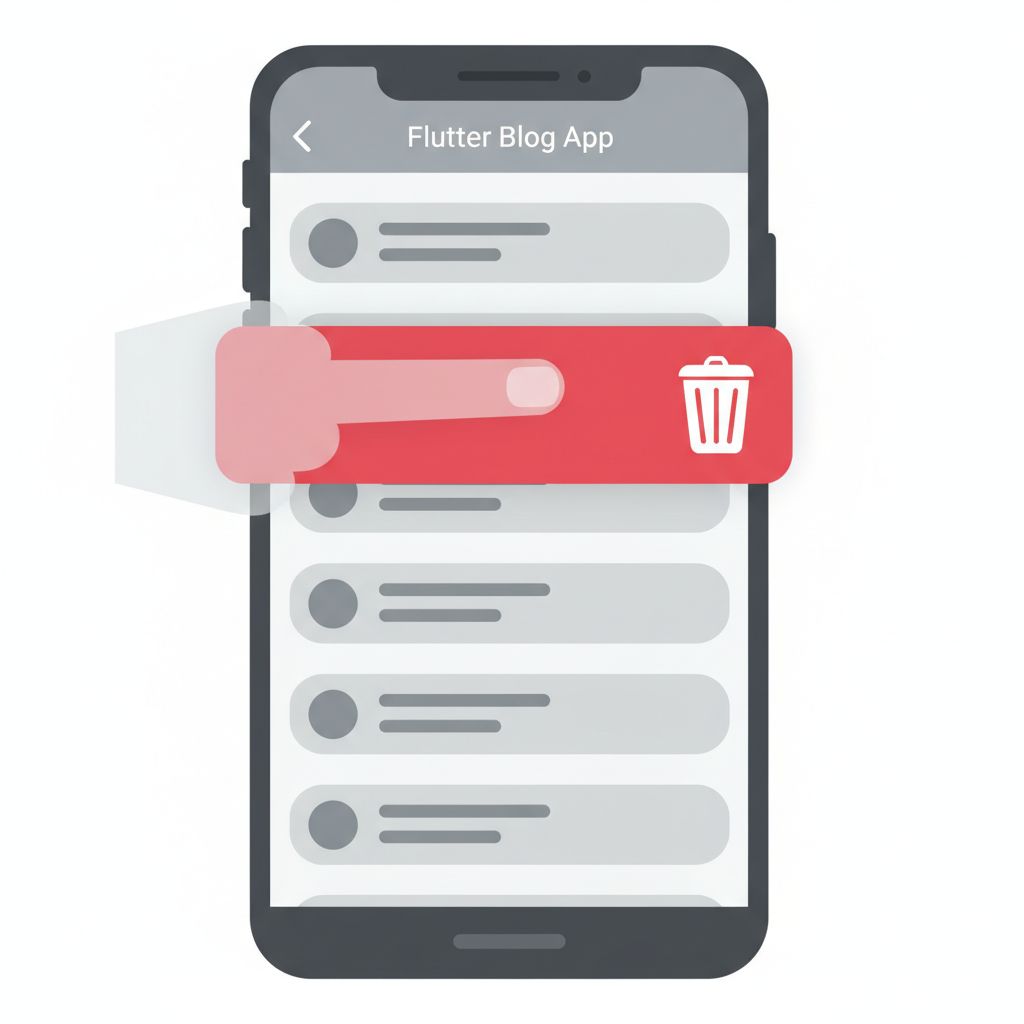
By using ValueKey(item.id), we explicitly tell Flutter: “This specific widget represents the data item with ID ‘id_3’.” When we swipe it away, onDismissed fires. Inside onDismissed, we call setState and remove the item from our todos list.
When Flutter builds the next frame, it looks at the new list. It sees that ‘id_3’ is gone. Because the Key matches the data, Flutter gracefully cleans up the widget tree without throwing the “still part of the tree” error.
When to Use This Approach
This exact pattern should be used whenever you have a local list of data that can be modified instantly. It is fast, optimistic, and provides immediate visual feedback to the user.
When NOT to Use This Approach
Do not use this simple onDismissed pattern if deleting the item requires an API call that might fail. If you delete the item locally, but the server returns a 500 Internal Server Error, your UI will show the item as deleted, but the database will still have it. The next time the user opens the app, the “deleted” item will reappear, completely ruining the user’s trust in your app. For network calls, you must use confirmDismiss (explained in the Edge Cases section below).
Common Mistakes Developers Make
After reviewing hundreds of pull requests over the years, I see the same three mistakes consistently crash lists.
Mistake 1: Using the Index as the Key
This is the deadliest mistake. If your code looks like key: Key(index.toString()), you are setting a trap for yourself. If you delete index 0, the item that used to be index 1 shifts up and becomes the new index 0. Flutter sees that index 0 still exists in the list and assumes the widget shouldn’t be destroyed, causing massive layout corruption and visual glitches.
Mistake 2: Forgetting setState()
If you remove the item from the list but forget to wrap it in setState(), Flutter doesn’t know the data changed. It will try to render the dismissed widget again, triggering the exact red screen error we discussed earlier.
Mistake 3: Removing by Object Instance instead of Index/ID
Sometimes developers write todos.remove(item) instead of todos.removeAt(index) or removing by ID. If your TodoItem class does not have custom equality operators (like using the Equatable package), Dart will check for reference equality. If the references don’t match perfectly, the item won’t be removed from the list, leading to a crash.
Warnings and Practical Tips
⚠️ Never use UniqueKey() inside a ListView.builder. While it might seem like a quick way to give every Dismissible a unique key and bypass the crash, it destroys performance. UniqueKey() generates a brand new key on every single frame rebuild. This forces Flutter to completely destroy and recreate every visible item in your list whenever the user scrolls, leading to massive frame drops and a laggy UI.
💡 Design for accidental swipes. Touch screens are sensitive. Users will accidentally swipe items. Always provide a way to recover, either through an “Undo” button in a SnackBar or by asking for confirmation before the deletion happens.
💡 Customize the threshold. You can control how far a user has to swipe before the item is considered dismissed by adjusting the dismissThresholds property. The default is usually fine, but for critical data, you might want to force the user to swipe further across the screen.
Edge Cases and Limitations: The Production Way
As mentioned earlier, what happens if you need to delete an item from a backend database? You cannot just optimistically delete it from the UI and hope the network request succeeds.
This is where the confirmDismiss property becomes your best friend. It intercepts the swipe animation before the widget is actually destroyed. It expects you to return a Future<bool>. If you return true, the item is dismissed. If you return false, the item bounces back to its original position.
Dismissible(
  key: ValueKey(item.id),
  background: Container(color: Colors.red),
  // Intercept the swipe
  confirmDismiss: (direction) async {
    // Show a loading indicator dialog or make an API call
    try {
      // Simulating a network request using Dart's async features
      await ApiService.deleteItem(item.id);

      // If the API call succeeds, we return true to let the UI dismiss
      return true;
    } catch (error) {
      // If the API fails, show an error and return false to cancel the swipe
      ScaffoldMessenger.of(context).showSnackBar(
        SnackBar(content: Text('Failed to delete. Check your connection.')),
      );
      return false;
    }
  },
  onDismissed: (direction) {
    // This only runs if confirmDismiss returned true
    setState(() {
      todos.removeWhere((t) => t.id == item.id);
    });
  },
  child: ListTile(title: Text(item.title)),
)
When writing asynchronous Dart code inside confirmDismiss, be cautious about context usage across async gaps. Always ensure the widget is still mounted before showing dialogs or SnackBars after a long network request.
What Happens If You Ignore This Problem
Ignoring state synchronization with the flutter dismissible widget doesn’t just result in a bad developer experience; it actively harms your users. If you push an app to production with buggy swipe-to-delete logic:
- App Crashes: Users will experience hard crashes, leading to poor App Store and Google Play reviews.
- Data Corruption: Users might think they deleted a sensitive document or a recurring payment, only to find out later that the app only hid it visually.
- Memory Leaks: If widgets are not properly disposed of because the tree is out of sync, your app will consume more memory over time, eventually being killed by the mobile operating system.
FAQ Section
How do I allow swiping in only one direction?
You can control the swipe direction using the direction property on the Dismissible widget. For example, setting direction: DismissDirection.endToStart will only allow the user to swipe from right to left.
Why does my list jump abruptly when I delete an item?
When an item is removed from a ListView, the items below it instantly shift up. If you want a smooth visual transition, you should look into the AnimatedList widget instead of a standard ListView.builder. However, managing state with AnimatedList is slightly more complex as you must manually trigger insertion and removal animations.
Can I have different actions for swiping left vs. swiping right?
Yes. You can check the direction parameter inside both confirmDismiss and onDismissed. You can define a green background for background (swipe right to archive) and a red background for secondaryBackground (swipe left to delete), and execute completely different Dart logic based on which way the user swiped.
Final Takeaway & Conclusion
The dreaded “dismissed Dismissible widget is still part of the tree” error is a rite of passage for Flutter developers. It is simply the framework’s way of strictly enforcing the rule that your UI must perfectly reflect your data state.
To ensure your swipe-to-delete flutter implementation never fails, follow this actionable checklist:
- Always assign a unique, data-driven
ValueKeyto yourDismissible. Never use the list index. - Always mutate your underlying data list (e.g.,
removeAt) inside theonDismissedcallback. - Always wrap that data mutation in a state update (like
setState) so Flutter knows to rebuild the list. - For network operations, always use
confirmDismissto verify the backend action succeeded before allowing the UI to destroy the widget.
By understanding how the Dismissible class interacts with Flutter’s element tree, you transition from just guessing why your app is crashing to confidently engineering stable, production-ready interfaces. Apply these fixes to your code, run a hot restart, and enjoy your perfectly smooth swipe animations.